Black and White Image With One Full Colour Object Using Photoshop
Page 1 - Page 2
A very dramatic effect for images is the process of converting the image to black and white and keeping one prominent object in full colour.
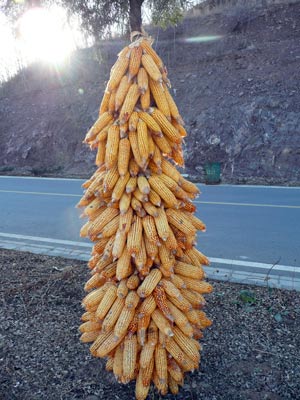
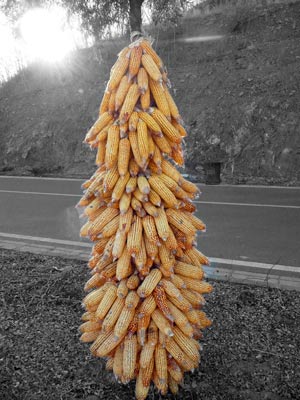
This process is very simple using Photoshop but care must be taken otherwise the object can appear cut out and stuck on the black and white back ground. The starting image is on the left and the final image is on the right.
 |
 |
The most important stage is the selection of a suitable image or photo. The object to keep in full colour should be centrally positioned and relatively small. Open the image using Photoshop. The higher the number of pixels the better the quality of the image when printed . Re-size the image to the correct dimensions using the “crop” tool, do not reduce the number of pixels.

The crop tool |

Do not reduce pixels when cropping |
Open the layers tab (if not already opened) by selecting layers from the windows tab bar.
 |
The layers window |

Convert the image from a back ground layer to a editable layer

Use the magic wand tool to select the area of the coloured object.
Use the add to area, or remove from area to carefully highlight all of the object.
 |

Add or remove selection area |
 |